 Dhal has always been one of my favourite dishes. I especially like it simply – with rice and achar. Like many of you, I grew up eating dhal made primarily of yellow split peas. However, more than a decade ago, since I learned of various other pulses used to make dhal and the addition of ingredients – fruits or vegetables – I have been making and eating a variety of dhal. I call it my dhal because many people would not recognize it as the dhal they know.
I feel compelled to share with you my dhal because we all can quickly find ourselves in a rut when it comes to cooking, and a dish as simple as dhal can add variety to meals, in a delicious and healthy way.
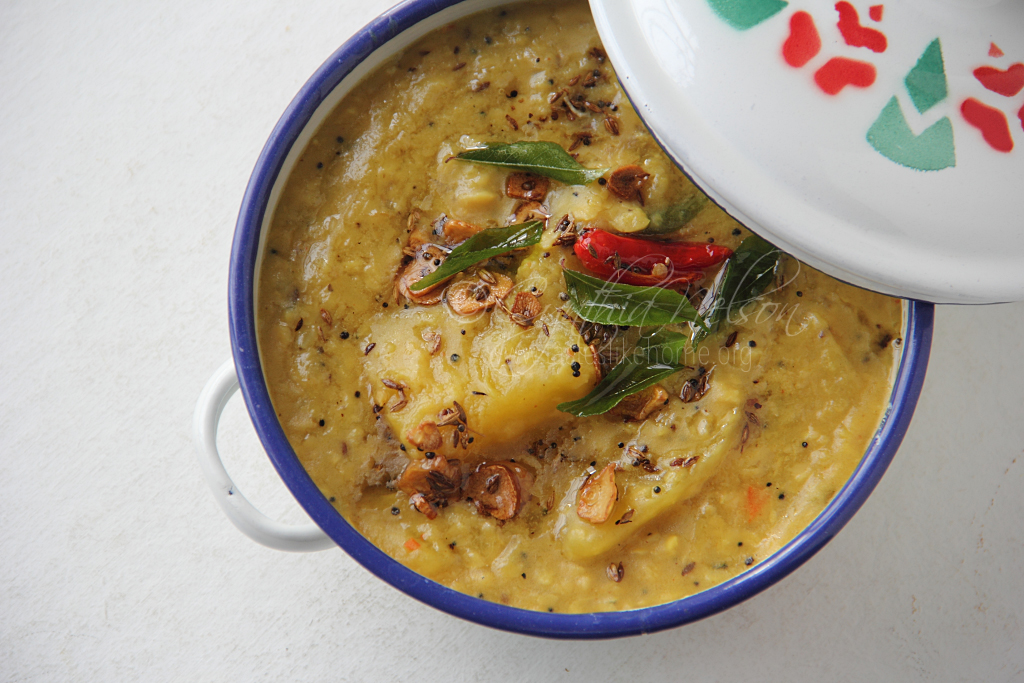
In Indian cuisine there are various types of dhals, but they are generally prepared one of two ways – as dal fry or dal tadka. Dal fry is when seasonings such as aromatics are sauteed separately, the peas cooked separately and then the two are combined, cooked together for the flavours to meld. Dal tadka (which is the type we are accustomed to) is the cooked peas seasoned at the end with a spiced oil flavoured with jeera and garlic. There are of course other ingredients used to make the spiced oil that add different flavour notes to dhal; such ingredients are curry leaves, mustard seeds, cinnamon, cloves, tejpetta (Indian bay leaves) and dried chilli. I make a combo dhal with the dal fry as the foundation for the dhal, then I add the pulses and cook the two together. At the end of the cooking process, I employ the dal tadka technique – flavouring the dhal with a hot spiced oil. For me, it is the best of both worlds and that is why I think of it as my dhal. Well, at least one of the reasons.

Pulpy pulses
These days, I eat my dhal as soup, therefore, it is often pulpy and thick. I use a dhal gutney every time to puree my dhal because it provides excellent control and always delivers the texture I am after. Most of the time, I boil and them simmer my pulses, on occasion, depending on the peas being used, I cook it in a pressure cooker, however, I am always mindful not to cook the peas until it turns to mush. In some of my dhals, you can find many pulses soft and whole, while others are melted. The variance in texture makes for a satisfying and hearty meal.
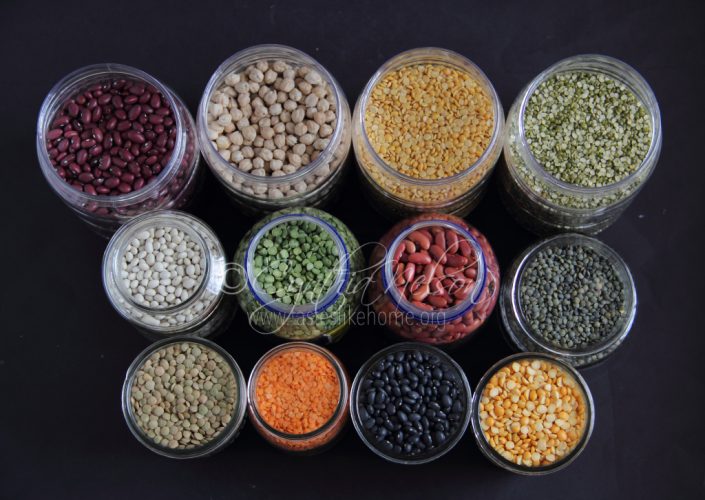
Speaking of pulses, to improve your dhal repertoire, go beyond yellow or green split peas. There is a spectrum of yellow dals – whole yellow moong, split yellow moong, chana dal, toor (split pigeon peas), masoor (red lentils), val dal, urad (skinned and split gram). And then there’s the whole and split urad (black gram), green moong (whole and split), kidney beans and kala chana (a small brown chickpeas). Each bean/pea has its own unique flavour.

In keeping with making it my dhal, I also use black beans, whole red and black lentils (with their skins on), haricot/navy beans, and even the small red beans we get in Guyana, to make dhal. I take things a step further by mixing and matching different beans to make dhal. For example, I’ve made a 3-bean dhal consisting of black beans, black urad and unskinned red lentils. In cases where I use heartier beans, I boost the flavour profile with ground spices that would complement such as allspice, clove and cinnamon. These spices get added at the dal fry stage with the onions etc. Most recently, I made a 10-bean dhal using a 10-bean soup mix I bought; it included lima beans, black eye and pinto beans.
Cooking and digesting
With the exception of the masoor/red lentils (skinned and split), I’d recommend soaking the pulses overnight. Proper rehydration ensures that they cook up quickly and evenly.
Many people have issues eating pulses because of gas/flatulence and heartburn, if eaten late in the day or evening. Here’s what I suggest and have recommended to people that has worked. However, bear in mind that everyone’s digestive system is different.
Always rinse well, the rehydrated beans to get rid of the water in which it was soaked. Secondly, when the pot of beans is simmering and just before it comes to a boil, you will see it frothy, use a pot spoon and scoop out all of the froth. The froth is the gas; get rid of it. You will notice that as soon as you remove the froth, the pot comes to a boil.
Remember I told you that I cook my dhal in a combo style, starting with dal fry which is to cook the aromatics separately? Well, the foundation I use for all my dhal is finely minced tomatoes, onions and ginger. The mixture is cooked low and slow to soften all the ingredients; ground turmeric is then added for flavour, colour and its health benefits. This foundation adds umami flavour to the dhal. In terms of digestion, the use of ginger in the dhal really does help. Ginger on its own is known for its digestive properties and it also helps with flatulence and bloating. Using it in the dhal not only provides flavour, but it also serves double duty by aiding digestion and remedying associated issues.
Extraordinary dhal
What makes my dhal extraordinary is not only the use of a variety of pulses, the texture or takda combinations used to flavour the dhal, it has a lot to do with the additions I make to the dhal. The additions, mostly vegetables, are either cooked directly with the dhal or are cooked separately and top the dhal just before serving and eating. Pumpkin, okra, callaloo, karaila, pak choi, squash, saijan, just-turning mangoes, and tomatoes are all part of the line-up I turn to when making or eating dhal. The other day, I topped my dhal with thick chunky pieces of pear/avocado. Bunjal beef, lamb and chicken have all been found at one time or another at the centre of my bowl of dhal. And you know what, I have not missed the rice.
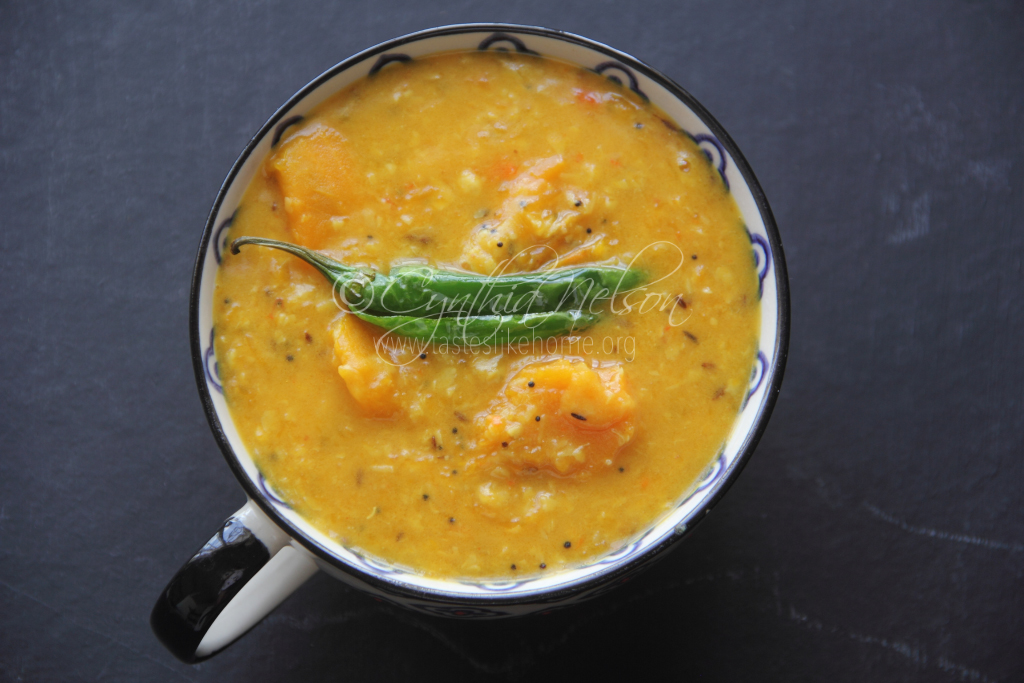
While I have made many types of dhal, I believe the one I am most proud of is my pumpkin dhal, made with red lentils, fresh coconut milk and flavoured with extra ginger. The taste is sublime. Start by sautéing finely minced onions, tomatoes and ginger until softened (skip the tomatoes if you do not have). Add some ground turmeric, season everything with salt and cook until the rawness of the turmeric dissipates, about 3 minutes. Cut the pumpkin in the big chunks and add it to the pot along with the red lentils. Stir to mix and then pour in the fresh coconut milk. Season lightly with salt. Drop in a few whole mai wiri peppers or a whole large pepper, if using. Stir everything together and bring to a boil (be sure to skim off the froth). When the pot comes to a boil, reduce the heat to a simmer and cook for 20 minutes. Meanwhile, thinly slice garlic and assemble some whole jeera and black/brown mustard seeds (these are optional if you do not have) for the tadka (to chunkay the dhal).
Depending on how pulpy you want things, fish out a few pieces of the pumpkin, and then using a dhal gutney, puree the mixture to your desired consistency. Taste for seasoning, salt and adjust. Add back the pumpkin you removed, put a lid on the pot and let it continue to simmer. Heat oil in a small frying pan or a metal ladle until very hot; add mustard seeds if using, as soon as they begin to pop, add the jeera, cook for 30 seconds and then add the garlic. Cook until the garlic just starts to get brown, do not let it burn. Carefully pour the hot seasoned oil over the dhal, and then give the pot a good stir to incorporate the tadka (seasoned oil). Remove from heat and let sit for 15 minutes before stirring and serving.
Make dhal your own.
Cynthia
cynthia@tasteslikehome.org

