 Shake, shake, shake! Shake that roti!
For years I have heard about people shaking roti (oil/paratha roti) in jugs, all in an effort to get away from clapping the roti hot off the tawa, avoiding the sting from the heat and subsequent tenderness of the hands. I tried it once and I mean one single time, with one roti, did not like the result – it did not flake well and release the layers – so I clapped the rest of the roti I made that day. I prefer my roti clapped. That was more than a decade ago.
Remember I told you a couple of weeks ago that I was in the country? Well, I returned home on Monday and the day before I returned, my hosts again made curry and roti, bookending my visit, and this time I got to see the wife’s (Mischelle) roti-making process from start to finish and I left determined to try it myself.


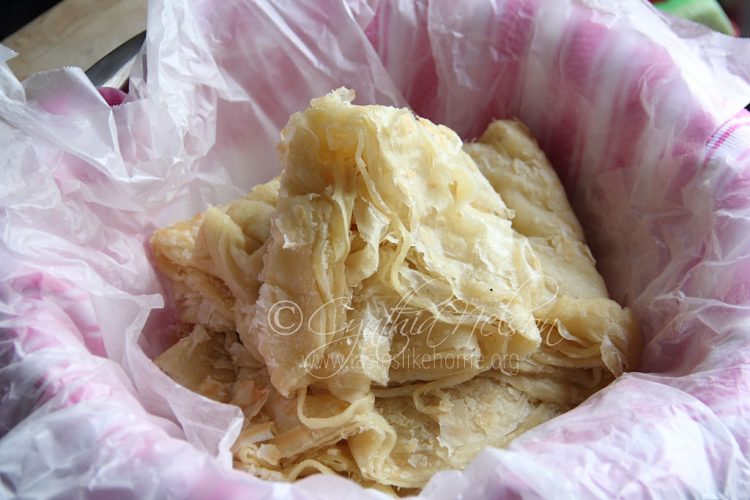
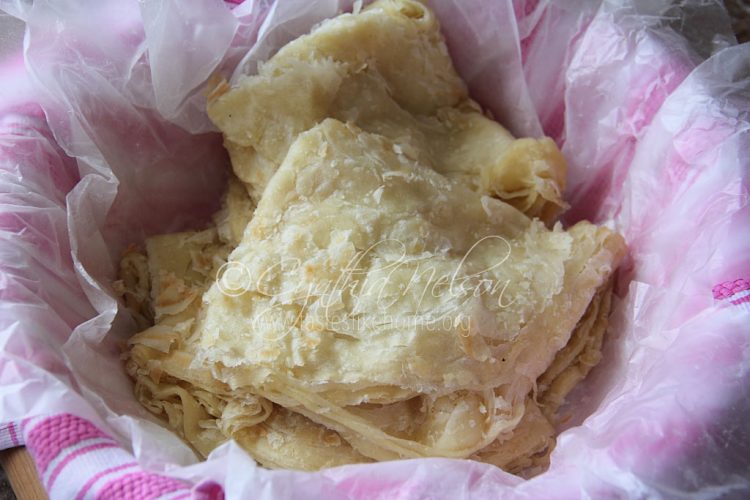
The afternoon when I arrived the dough was already “oiled” and resting, waiting to be cooked. In preparation for cooking, Mischelle took down a plastic jug with a cover from the cupboard and set it next to her workstation. I didn’t ask the obvious. I was very interested in seeing how she’d shake the roti and the results. Hot off the tawa Mischelle dropped the roti into the jug, covered it and using both hands, she shook the jug, up and down several times before removing it, folding it in half and resting it on the parchment-lined platter she had prepared. The roti looked soft and tender as if gently clapped. I had an aha moment. I noticed that Mischelle shook the roti holding the jug vertically, upright. In the past, the one time that I shook a roti, I had turned the jug on the side, crosswise. Could this be the reason that it did not yield the expected look and finish? It was obviously a technique thing. I learnt something.
As we ate, tearing the roti, and dragging it through the sauce, again I marvelled that the roti was not clapped, it was shaken. I noticed too that the roti was a little softer in texture, and later, at the end of my visit, I would come to know why.
The secret, if we want to call it that, was a combination of the use of self-rising flour and regular all-purpose flour. My friend’s combination is 1 part self-rising flour and 2 parts all-purpose flour. The self-rising flour most readily available here (in Barbados) is a cake and pastry self-rising flour which means the flour is softer with less protein than all-purpose flour. Cake/pastry flour has around 7 – 8% protein compared to all-purpose flour that is considered a harder flour with around 10 – 12% protein. The flour with less protein makes finished products softer, lighter and airy.
I use regular all-purpose flour and baking powder when I make roti and the results are always excellent but it is good to learn other ways of doing things. I was excited to go home and try the roti with the self-rising, all-purpose flour combination. Oh, another thing that I noticed my friend Mischelle did, instead of using oil or ghee to oil the roti, she used a locally made
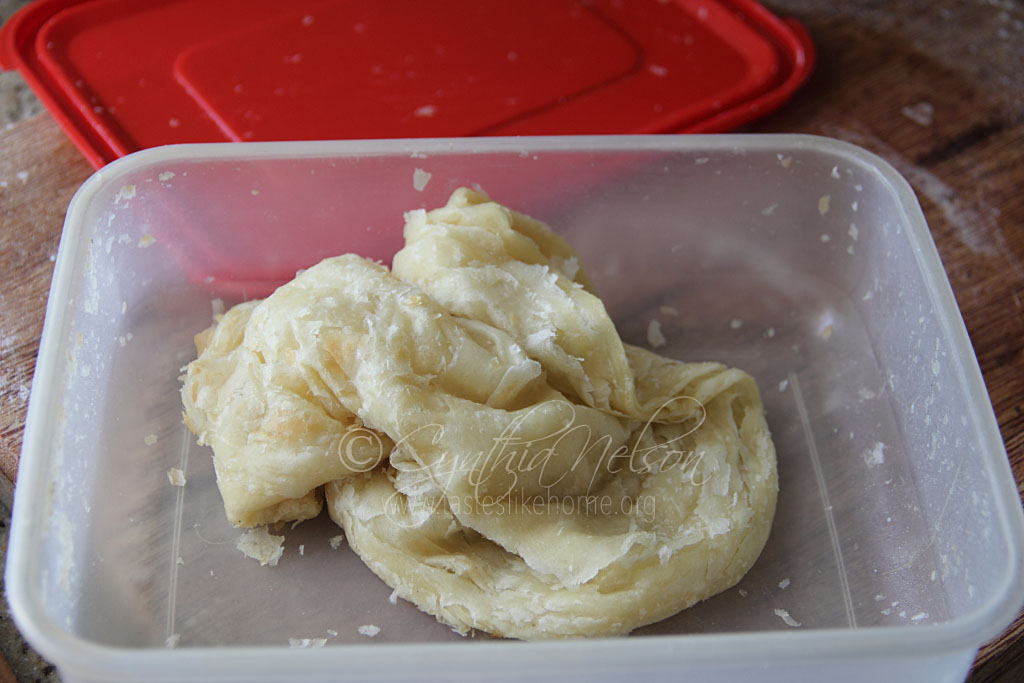
margarine spread. I wanted to try making the roti exactly as she did so I bought the spread to use too. Finally, this time around, instead of using the jug, Mischelle used a rectangle-shaped plastic container to shake the roti, holding the container flat, moving it in a back and forth motion. I was glad to see this otherwise I was going to have to buy a plastic jug.
I bought the self-rising flour and margarine spread excited to try making roti with this combo; I measured and kneaded the dough – 1 cup self-rising flour, 2 cups all-purpose flour along with some salt, a pinch of sugar and a drizzle of oil. When it was time to oil the roti, I made sure that the margarine spread was softened – this is important, you want the margarine to be warmer than room temperature so that it can spread easily. All prepped and having rested well, it was time to cook the roti and shake it!
Remembering what I saw my friend do, I repeated the action of transferring the roti hot off the tawa into the container, snapping the lid tight and shaking the container with the roti. I shook my roti longer than she did hers though, no particular reason, I just did (lol). On each occasion that I opened the container, I smiled and laughed at the soft, tender roti, crumpled with its layers lying softly, waiting to be gently picked up and folded and transferred to a cloth-lined bowl to be covered and kept warm.
When I was finished cooking the roti, I was very happy not to have to clean the counter and floor of flakes that could usually be found when roti is clapped. It’s the little things.
As I sat down, pulling pieces of roti, dipping into dhal, gathering up fried callaloo, I was amazed, again, as I always am when eating paratha/oil roti, at the simplicity of it, layered with technique and skill of making it that eludes so many.
Will I make roti this way again – definitely.
Do I prefer one mixture over another – all-purpose flour/baking powder versus self-rising AP combo? I never buy self-rising flour so for me it will be the all-purpose flour/baking powder mixture. I try very hard not to buy single-use, single purpose ingredients and since the only thing I would use the self-rising flour for is to make roti, it does not make sense because I am not a frequent roti maker.
Roti clapped or shaken? I’ll take it both ways but clapped roti will always be my favourite.
Cynthia
cynthia@tasteslikehome.org


